
Modern chandeliers that combine multiple single glass elements into one breathtaking shape are works of art. But these pieces often weigh a lot, require precise alignment, and need secure mounting — especially when the ceiling is made of gypsum.
Whether you’re installing a new chandelier or repairing one, proper support and accurate placement are critical for both safety and aesthetics.
This guide explains every step, from ceiling reinforcement to precision hanging using a 1:1 printed drawing.
Step 1: Check Your Ceiling Type
– Concrete ceiling — Strong enough to support heavy chandeliers when installed correctly.
– Gypsum ceiling — Cannot hold heavy weight directly; must be reinforced with plywood and threaded rods.
Step 2: Reinforce Gypsum Ceilings with Plywood
If your ceiling is gypsum:
– Use a plywood panel beneath the gypsum, connected directly to the concrete ceiling or steel beams.
– Thickness: 1.2–1.8 cm.
– Size: At least 30 cm larger on each side than the chandelier’s dimensions.
Example: Chandelier size = 2 m × 3 m → Plywood size = 2.6 m × 3.6 m.
– Ensure no gap between gypsum and plywood so hanging screws pass through into the wood.
Step 3: Secure Plywood with Threaded Rods
– Install threaded rods from the plywood into the concrete ceiling.
– Minimum spacing: 60 cm between rods for even weight distribution.
– Anchor with heavy-duty expansion bolts or chemical anchors.
Step 4: Prepare a 1:1 Printed Drawing
For precision placement of each hanging wire:
1. Create a 1:1 scale drawing of the chandelier’s ceiling plate showing all hanging points.
2. Label each point with a number or code that matches the corresponding wire.
3. Stick the printed drawing to the ceiling exactly where the chandelier will be mounted.
4. Drill holes through the paper at each marked point to prepare for screws.
5. Remove the paper, fix the screws or hanging hardware, then keep the drawing nearby as a reference map when attaching wires.
Step 5: Mount the Chandelier Frame
– Attach the main frame or suspension system securely to the plywood through the pre-drilled holes.
– Double-check all connections before adding glass pieces.
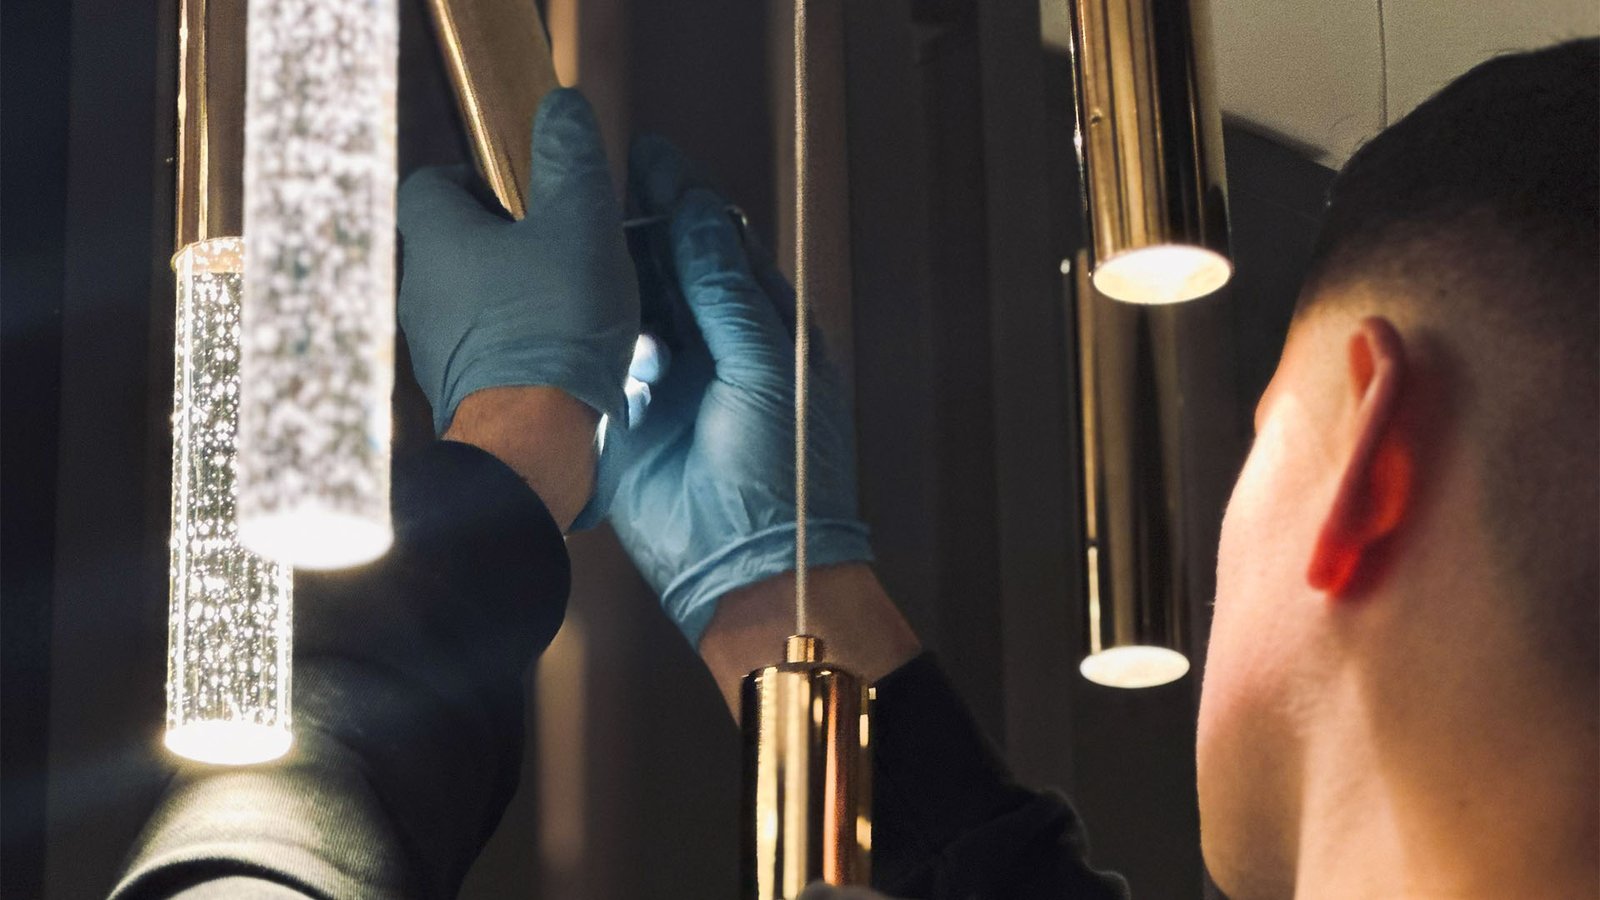
Step 6: Hang the Wires & Glass Pieces
– Follow your 1:1 drawing reference to attach each numbered wire in its correct position.
– Start from the center or highest point and work outward.
– Wear gloves to avoid smudges and damage to glass.
– Avoid over-tightening hooks or clamps — this can crack glass elements.
Step 7: Electrical Safety
– Always turn off the power supply before wiring.
– Use connectors rated for the chandelier’s wattage and voltage.
– If unsure, hire a licensed electrician for the electrical connection.
Step 8: Final Inspection
– Ensure all mounting points are secure and the chandelier is level.
– Test lighting and check for loose wires or flickering.
– Make sure the plywood panel and threaded rods show no signs of strain.
Why This Process is Essential
High-end modern chandeliers — especially those made from glass, crystal, copper, or stainless steel — require precision in both structural support and assembly. The 1:1 printed drawing method ensures that every glass piece and suspension wire aligns perfectly to achieve the intended artistic shape.
At 86 Studios, our installation process combines engineering precision with artistic craftsmanship to guarantee that each chandelier is both safe and stunning.